3 Easy Steps to Create a Mood Board
Mood boards are an essential part of the design process. They help you to decide on your color scheme, textures, photography style, and ultimately the tool you use to present initial concepts to clients. As a designer, I used them constantly. Now as a watercolor artist, I’ve found myself using them again in times of creative block.
But are they ONLY for designers and artists? Definitely not.
Mood boards can help you visualize things like party themes and decorations, your diy interior design projects, and so much more.
So how do you create a mood board? There are a million ways to create a mood board, but here are three steps I use when working on my own.
Start with one graphic you love.
Since I’m very visual, I like to start with one inspirational photo that captures my attention. This could be a photograph, a painting, a color palette, a texture, a typeface - whatever inspires you! Pinterest is my best friend, but dribble, stock photo sites or even instagram and google are all great resources for image searching.Search for the supporting images.
Once you have your image, use it to search for others that complement the theme, color or style of the inspiration image. Don’t worry if you end up shifting your focus or theme. This part should be a visual brainstorm of ideas, so no need to lock everything down just yet!Put your mood board together.
You can decide if you want to put things together digitally, or if you would rather be hands on with paper and scissors, but working on a computer makes it much easier to swap out images and colors until you have everything just right. There’s no right or wrong amount of images to use, but the idea is for it to feel cohesive. It should tell a quick and visual story.
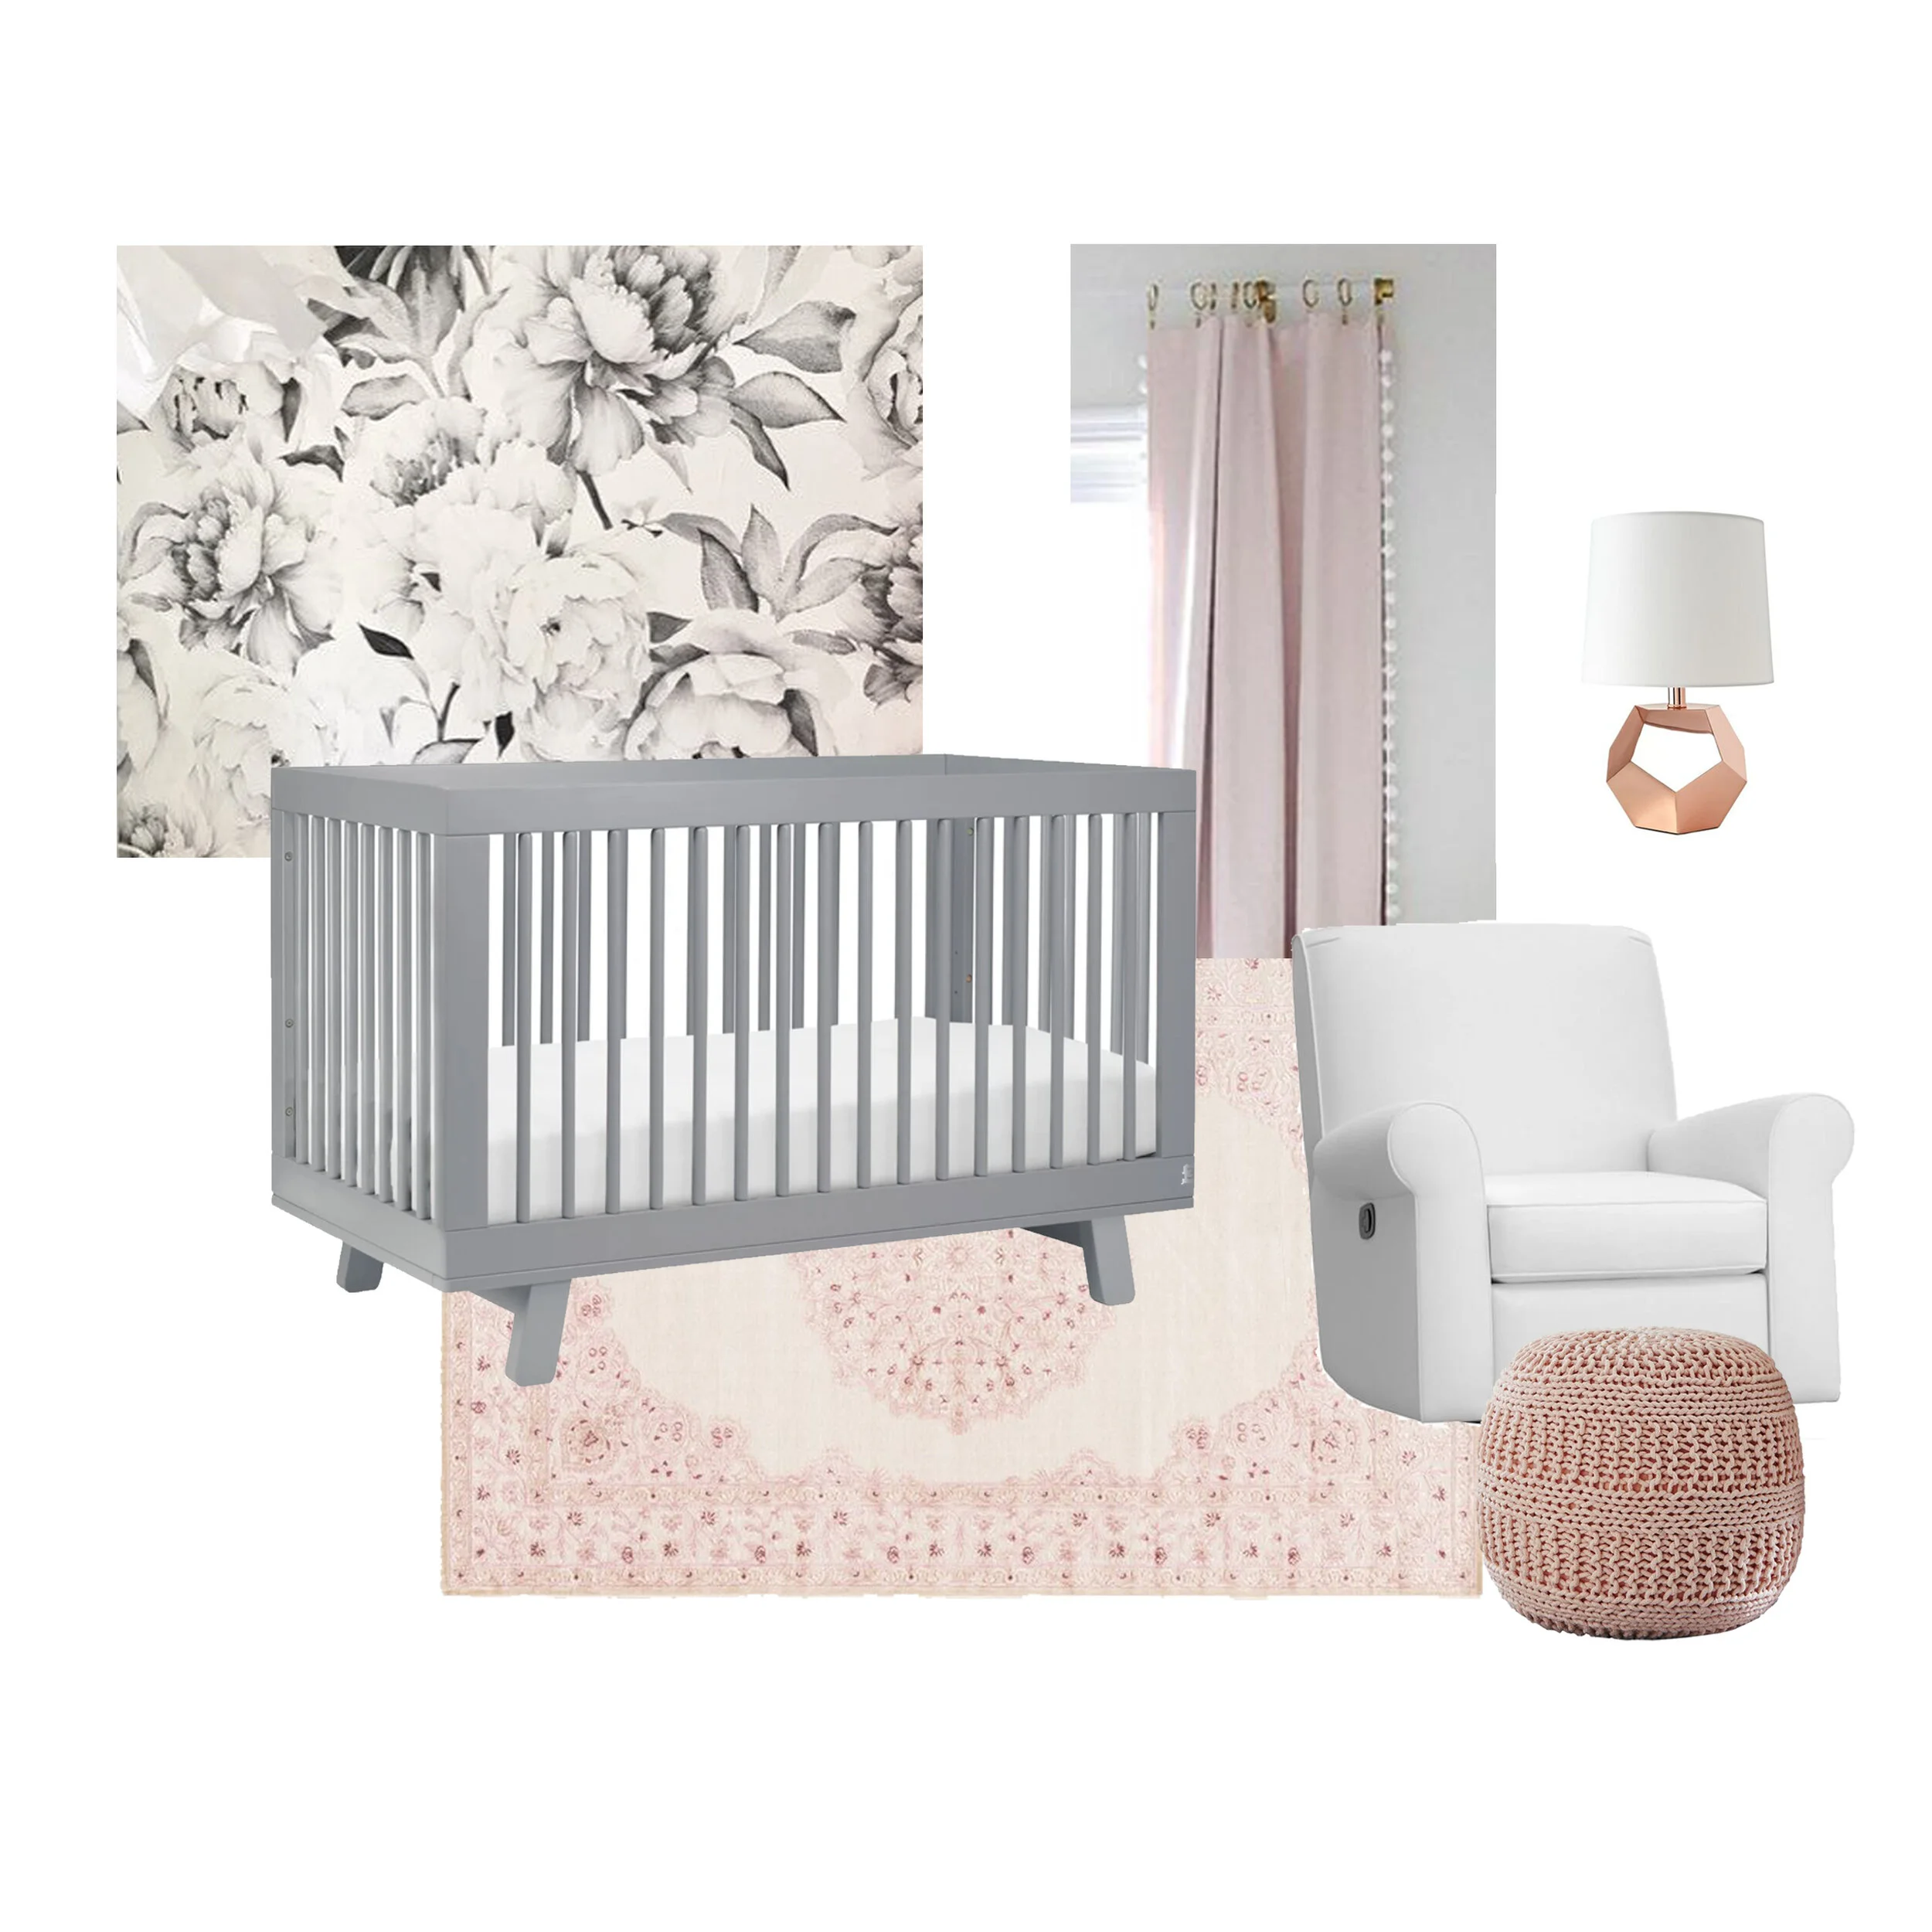
Below are some examples of mood boards I’ve created in the past for nurseries, art projects and weddings. Can you think of other ways you can use a mood board? Let me know in the comments and be sure to tag me on instagram @acreativegrey with your next mood board.
For the nursery, we knew we would have a grey hand-me-down crib, so we used it as a jumping point to design the rest of the room. When we found the black and white wallpaper, everything else came together.
When I’m having major creative block and find myself using the same themes and colors, a mood board helps me to get out of my comfort zone.
It may seem silly to do a mood board for your wedding, but it not only helps you decide on all the details (of which there are many), but it’s a great tool to have for your vendors!


